Ken Burns Effect Using FFmpeg
Learn how to transform a static image into a captivating video with the Ken Burns effect using FFmpeg.
FFmpeg is a powerful and open-source software that facilitates multimedia processing. It acts as a Swiss Army knife for handling audio and video files, offering a wide range of capabilities for media manipulation.
If you want to add a touch of elegance to a static image, the Ken Burns effect is a classy choice. It involves a gradual zoom or pan across the image, giving it a subtle, cinematic feel. In this tutorial, we'll use FFmpeg, the Swiss Army knife of multimedia processing, to turn a still image into a captivating video with the Ken Burns effect.
Prerequisites
Before we begin, make sure you have FFmpeg installed on your system. If you don't have it yet, you can download it here.
Steps
-
Prepare Your Image:
- Choose the image you want to use.
- Make sure the image resolution is suitable for the video output.
-
Create a Simple Script:
- Open a text editor and create a simple script, e.g.,
kenburns.sh.
- Open a text editor and create a simple script, e.g.,
-
Write the Script:
-
In your script, use the following FFmpeg command:
ffmpeg -i input.avif -vf "zoompan=z='min(zoom+0.0015,1.5)':d=125" -c:v libx264 -t 10 -s 1920x1080 -pix_fmt yuv420p output.mp4Breakdown of the command:
-loop 1: Loop the input image infinitely.-i input.jpg: Input image file.-vf "zoompan=z='min(zoom+0.0015,1.5)':d=125": Apply the zoom and pan effect. You can adjust the values to customize the effect.-c:v libx264: Use the H.264 video codec.-t 10: Set the duration of the video to 10 seconds. Adjust as needed.-s 1920x1080: Set the resolution of the output video.-pix_fmt yuv420p: Set the pixel format.
-
-
Run the Script:
-
Save your script and run it in the terminal:
sh kenburns.sh -
This will create a video file named
output.mp4with the Ken Burns effect.
-
-
Adjust Parameters (Optional):
- Feel free to experiment with the zoom, pan, and duration parameters in the FFmpeg command to achieve the desired effect.
And there you have it! You've successfully created a video with the Ken Burns effect from a static image using FFmpeg. You can now use this technique to add a dynamic touch to your presentations, slideshows, or any project where a subtle, animated image is needed.
Example
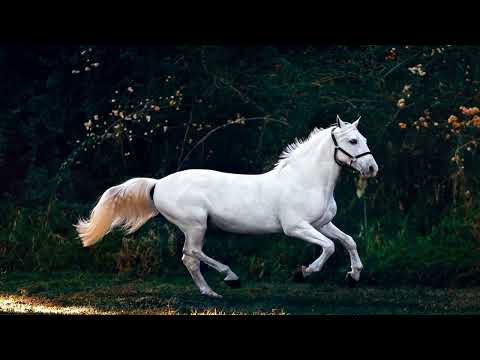
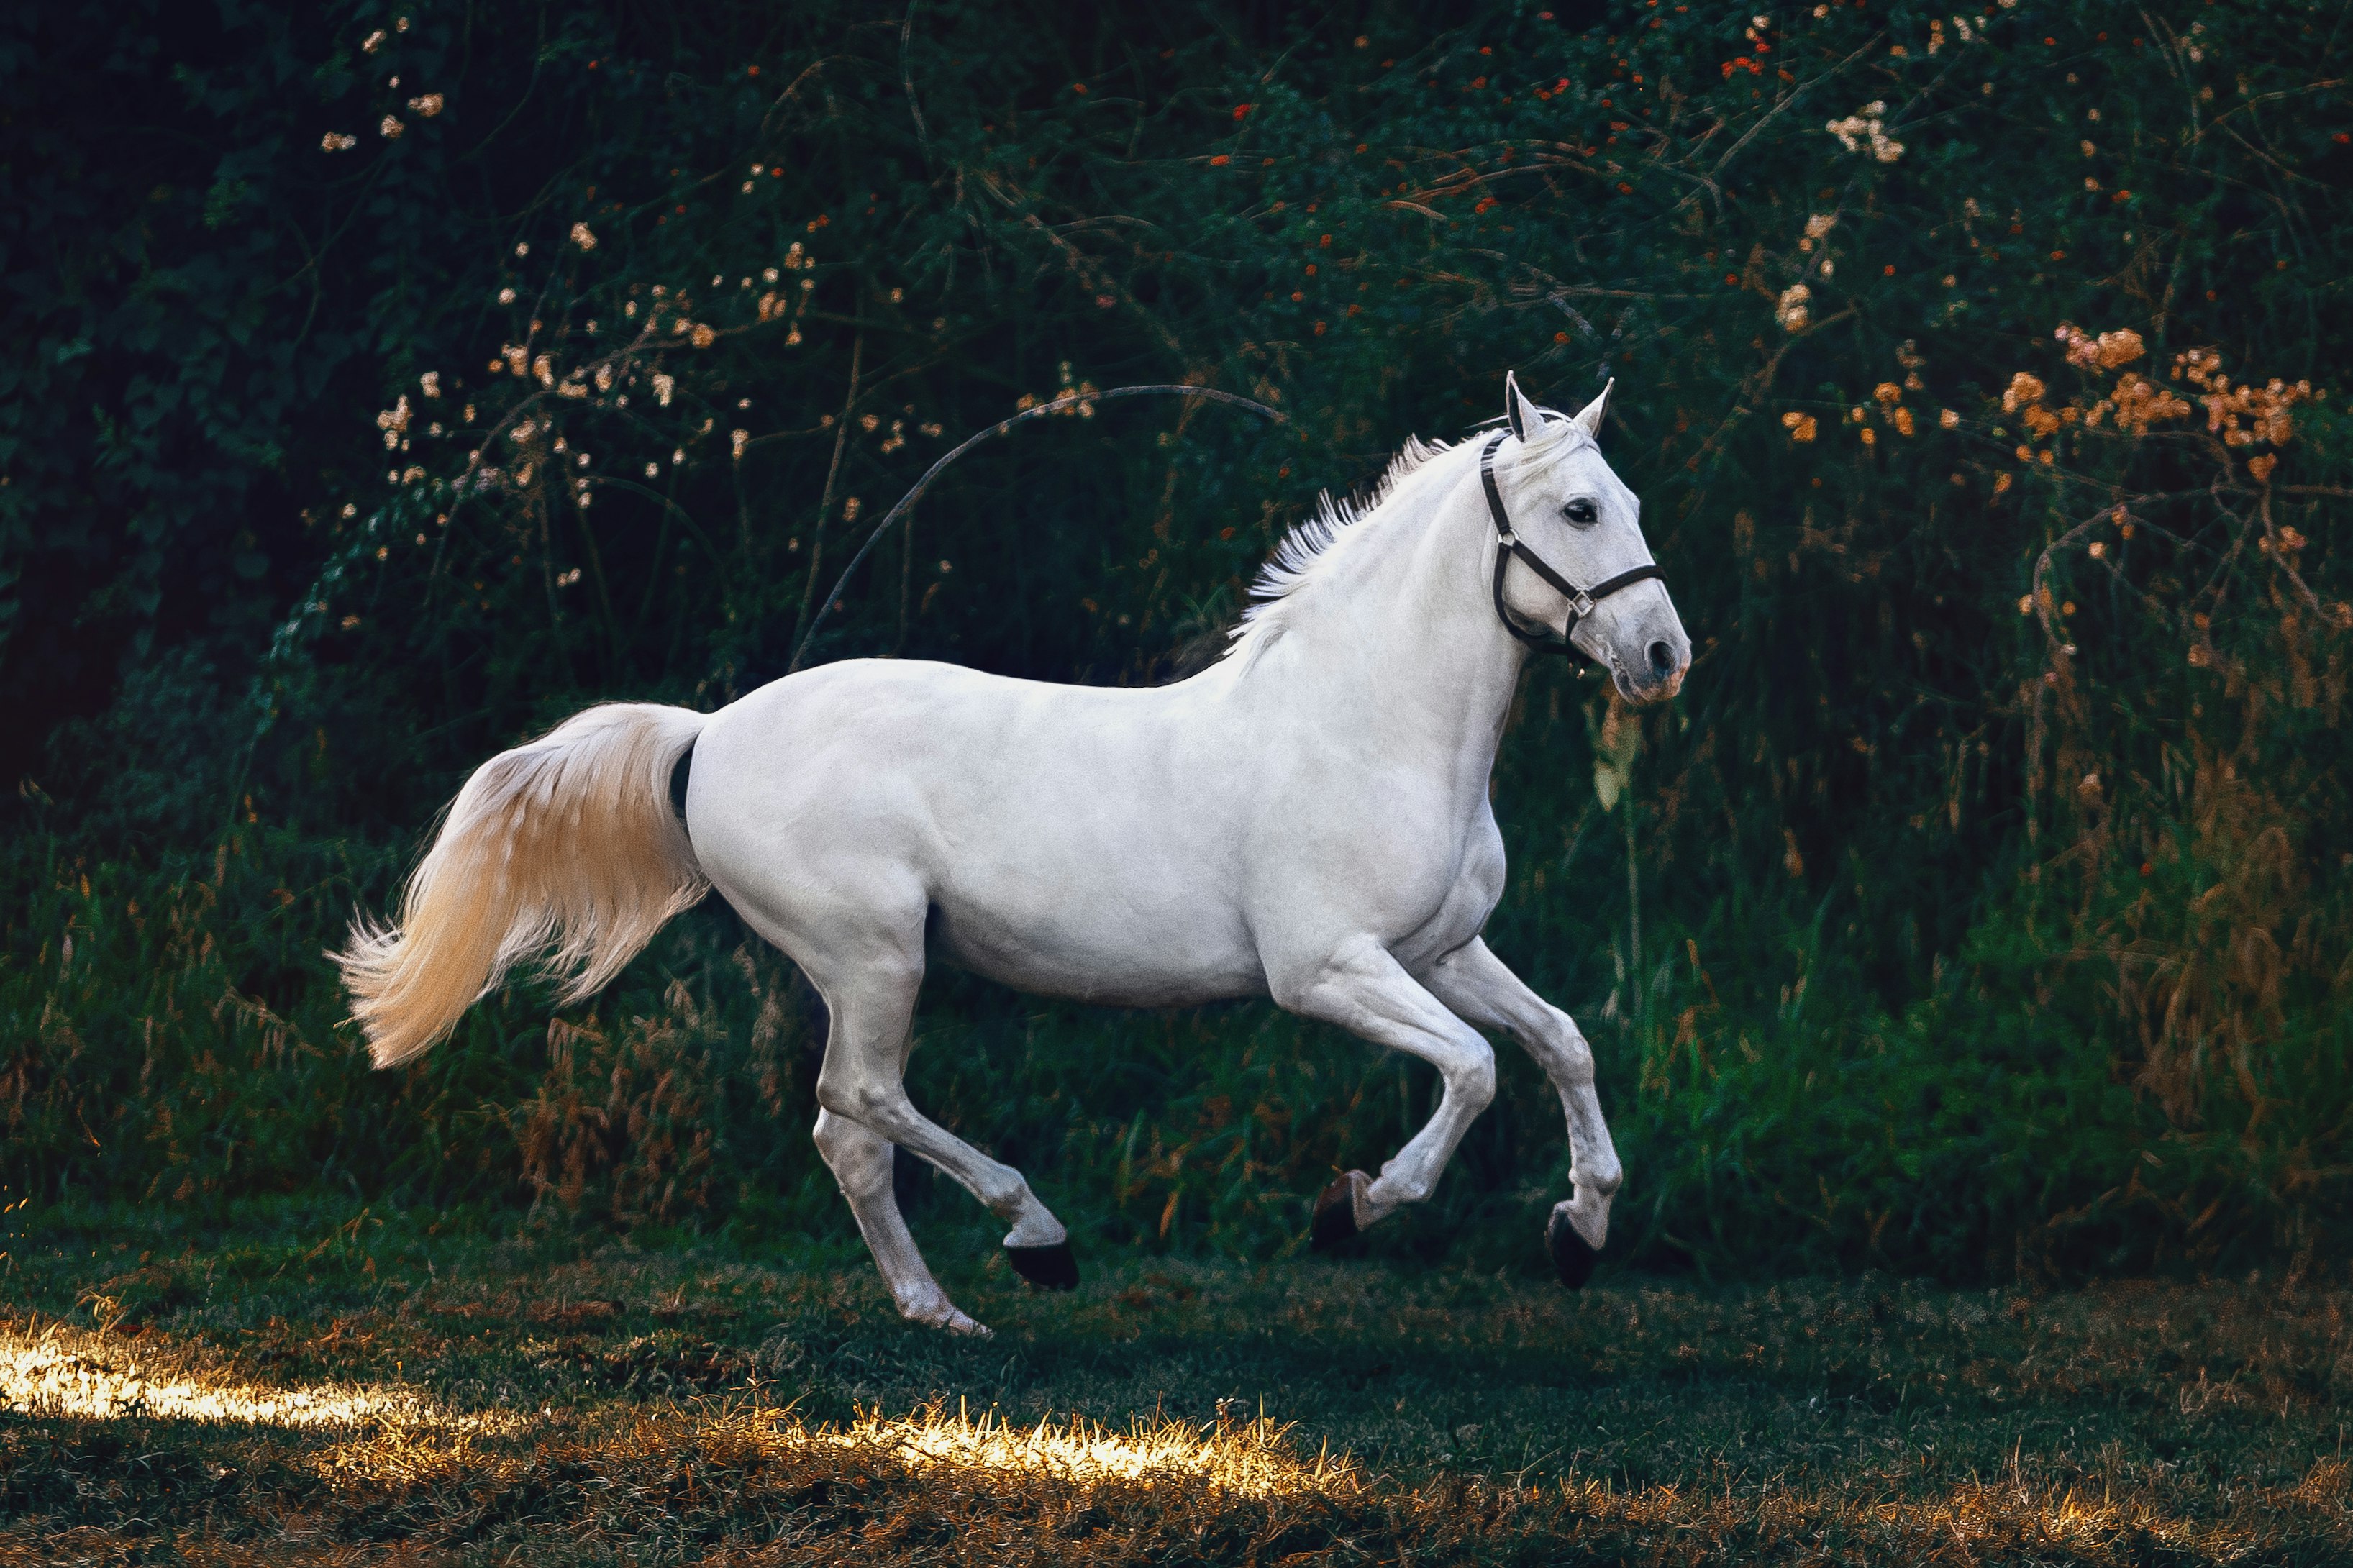
In this example, I will take this photo from Helena Lopes and apply the Ken Burns effect using FFmpeg.
Original image:
Result (click the image, link to YouTube video):